Your home’s roof is comprised of more than just the visible roofing materials that can be seen from the ground. There are numerous other components that are just as important, even though they are unseen. One of those components is drip edge.
What Is Drip Edge?
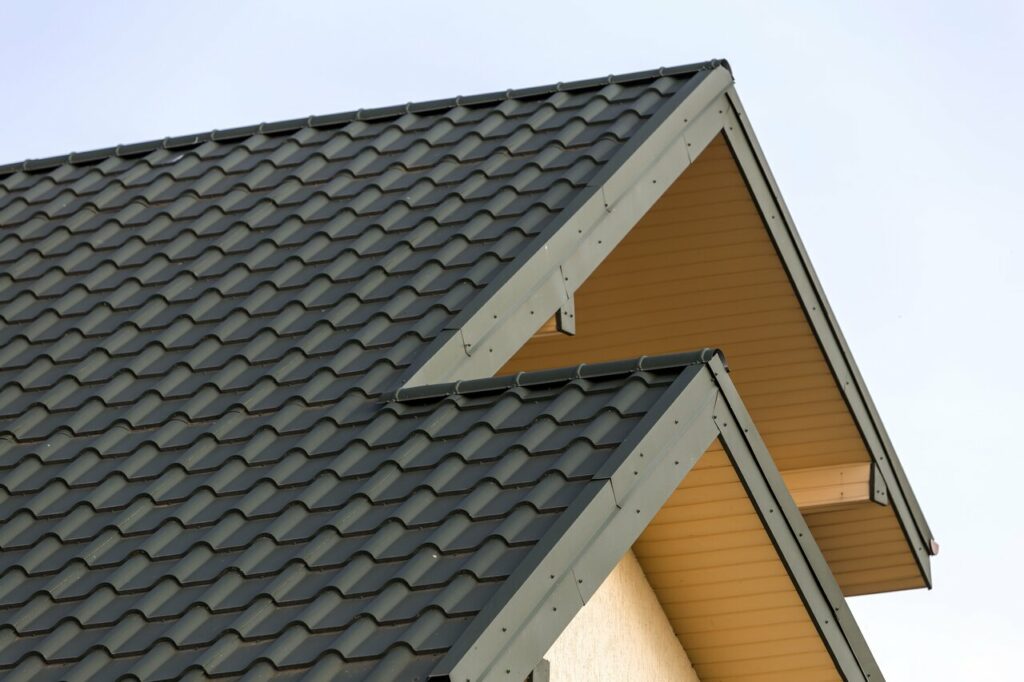
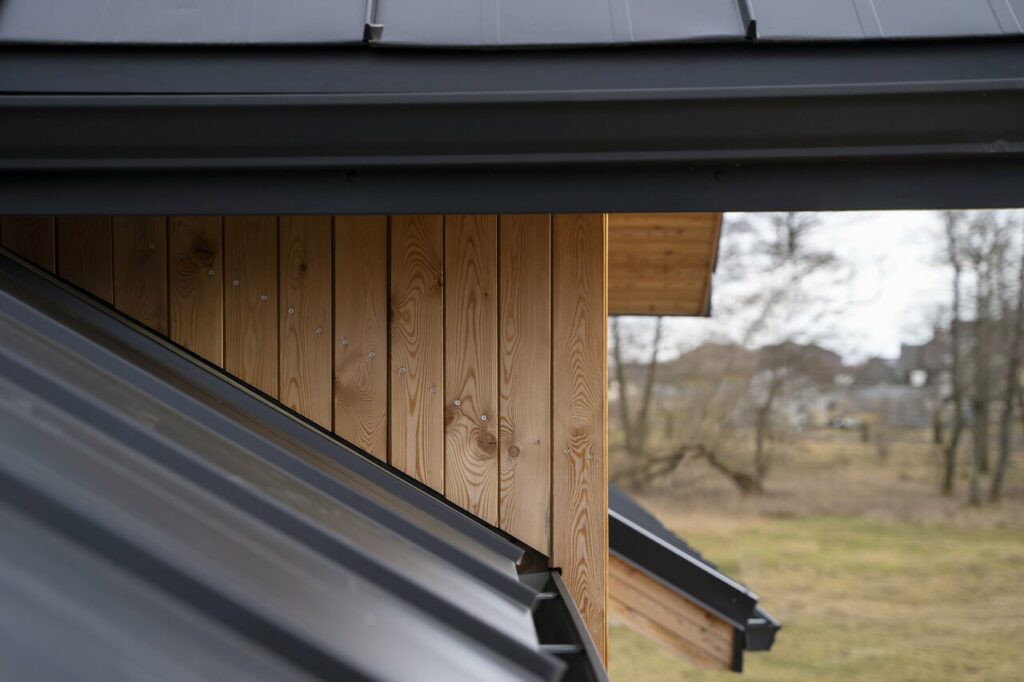
Drip edge is a type of metal flashing that is installed around the whole perimeter of the roof. It is used to hold the underlayment down and to create a watertight seal around the edge of the roof by directing rainwater away from the house. Many building codes around the country require that drip edges be installed on new roofs.
Drip edges serve two important purposes:
- They keep water away from the fascia. Taking advantage of the properties of water and the force of gravity, drip edges help direct water into the gutters or away from the fascia and walls.
- They offer protection from wind-driven rain. In areas of the country that are prone to harsh weather conditions like heavy thunderstorms, the drip edge offers additional protection from moisture getting pushed under the shingles by strong winds.
Since only the face of the drip edge flashing is visible, many homeowners do not even know that it is there until there is a problem or it is time for a roof replacement or new roof installation.
Do I Need to Replace My Drip Edge When I Replace My Roof?
You do not necessarily need to replace your drip edge when you replace your roof. However, it is recommended that you do so. The minimal cost savings from reusing old drip edge is likely not worth it. Here are a few reasons why:
- Your old drip edge may be damaged and no longer able to effectively protect your roof from water damage.
- Replacing your drip edge will give your new roof a clean, finished look.
- If your old drip edge is not replaced, it could eventually lead to problems with your new roof, such as leaks.
If you decide to replace your drip edge, be sure to hire a professional roofing contractor to do the job. They will know how to properly install your new drip edge so that it effectively protects your roof.
What Type of Material Are Drip Edges Made Of?
Drip edges are made of durable materials that will not corrode or rust:
Aluminum Drip Edge
Aluminum is common and available in a variety of colors, but it is not as strong as steel.
Galvanized Steel Drip Edge
24-gauge galvanized steel will not rust and is strong enough to withstand high winds.
Copper Drip Edge
Copper drip edges provide a seamless, unique look that adds to the home’s overall aesthetic.
Drip edge comes in three distinct profiles, the names of which can be confusing.
- C style drip edge is the most conventional. It is bent at a 90 degree angle, forming an “L” with a lower flange.
- D profile drip edge is shaped like a “T,” with a lower flange on the bottom. It is sometimes referred to as D-Metal or T Style.
- F style drip edge is sometimes called F style or gutter apron. It is used when installing over existing shingles or on rake edges because it has a longer edge.
In addition to the style, it is important to consider drip edge size when looking at options.
The Asphalt Roofing Manufacturers Association (ARMA) suggests using Type D profile because it keeps the water further away from the fascia.
How Drip Edge Is Installed
Installing drip edge on a new roof or when replacing a roof is a relatively straightforward process that can be done by any professional roofing company. Here is a quick overview of how roofers install drip edge:
- Measure the length of the perimeter of your roof.
- Cut the drip edge to size using tin snips.
- Remove any old drip edge or other materials from the edge of the roof.
- Install the drip edge by nailing it into place. It is important to use nails that are long enough to penetrate through the drip edge and into the roof decking beneath it.
- If a D style drip edge is used, a second course of it will need to be installed along the rake edge of your roof.
- Once the drip edge is in place, the new roofing material can be installed.
Occasionally, it becomes necessary to replace drip edge on an existing roof without doing a complete reroofing. Here are the steps involved:
- Gently lift the shingles along the edge of the roof and locate the nails that are holding the existing drip edge in place.
- Carefully pry the nails out of the roofing surface using a hammer or pry bar, being careful to avoid damaging the underlayment or roof decking.
- Remove each section of drip edge once all the nails have been pulled.
- Install the new drip edge as outlined above.
Installing drip edge is a simple way to help protect your roof from water damage and give it a finished look.
What Color Drip Edge Should You Use?
Homeowners installing a new roof have to decide not only the color of their roofing material, but also what color to use for the drip edge. Most drip edge comes in standard colors – white, brown, and black, but many can also be customized through color matching.
The main choice when it comes to color is whether the drip edge should match the fascia, match the color of the roof, or serve as an accent. Like other aesthetic choices involving your home and its roof, the ultimate decision comes down to personal preference. Here are a few things to consider:
- A drip edge that matches the roof color can accentuate the roof line by creating more definition.
- Some roofing contractors suggest treating the drip edge as trim and encourage making it the same color as the fascia.
- For a distinctive look, some homeowners choose drip edge that matches shutters or other elements of the home’s exterior.
Most drip edge can be painted if homeowners decide they do not like the existing color. This can have the added benefit of providing additional protection to the drip edge itself.
Drip Edge Cleaning
Cleaning your drip edge is a simple and straightforward process that most homeowners can do on their own with proper safety precautions.
You will need a garden hose, a brush, and some soap. Start by rinsing off the drip edge with water to remove any dirt or debris. Then, use the brush to scrub away any remaining dirt. Finally, rinse the soap off with clean water.
You should clean your drip edge at least once a year to prevent build-up and to inspect it and ensure that it is still in good condition. If you live in an area with a lot of trees, you may need to clean it more often.
The Value of Roof Inspections
Since most homeowners do not know how to determine if their roof drip edge is in need of replacement, they can benefit from having an overall roof inspection completed by a professional roofing contractor.
Roof inspections are important because they can identify potential problems that could lead to expensive repairs or replacements down the road. By catching these issues early, you can save yourself a lot of money and hassle in the long run.
In addition, regular roof inspections can also help extend the life of your roof by identifying potential problem areas before they become major issues. By taking care of your roof, you can enjoy a longer lifespan for your investment.
A professional inspection will include not only an assessment of the outer surface of the roof, but also the structure, protrusions like chimneys and skylights, gutters, downspouts, and the drip edge.
Drip Edge and Gutters
The drip edge can be considered a part of both the roof and the gutter system since it helps direct water off the roof and away from your home’s walls and foundation. Inspecting it can help catch potential problems, but the challenges is that you cannot see the drip edge easily from the ground if your home has gutters.
Of course, you can use a ladder to take a close look, but there are a few signs of problems that might be visible from the ground:
Water Dripping Behind Gutters
If there is water dripping behind the gutters, it is typically a sign of either loose gutters or missing or improperly installed drip edge. If left unattended, this improperly directed water might start to form stains on the wall.
This issue could also be caused by other problems, such as clogged gutters or downspouts, so be sure to check those first.
Rotting Fascia Board
Fascia board should last for 10-20 years with proper drip edge installed. If there are signs of rot sooner, there may be an issue with the drip edge.
Water Stains on Roof Material
Water damage to shingles is a sign that water is getting below the surface of them, since the exterior is designed to shed water.
Leak Damage in Eaves or Ceilings
Once water gets inside it can stain ceilings, walls, or the structure of the roof.
Drip Edge FAQs
Here are a few common questions that roofers get about drip edges.
Do I need drip edge for a metal roof? Most roofing contractors say that drip edge is not required if the metal overhangs at least one inch. However, it may still be recommended for extra protection.
How much does drip edge cost? Prices vary depending on the type of drip edge you choose as well as the cost of labor for installation. According to the home improvement service rating site, Angi.com, drip edge costs from $1 to $3 per linear foot installed.
What sizes does drip edge come in? Roof drip edges occasionally come in 8 foot lengths, but are more often available in 10.5 foot length. Although drip edge previously came with a 1 inch face, it is more common now to have a slightly larger 1.5 inch face.
Can I paint drip edge? Yes! First, wipe down the surface with white vinegar to help the paint stick, then prime it with metal primer. Apply two coats of exterior paint on top of the primer.
Best Roofing Company in Florida
The experienced roofers at Stronghold Roofing & Solar ln and near Lakeland, FL can install and inspect drip edge and provide any other roofing service you need for your home or business.
With decades of service to customers throughout central Florida, we have the experience and commitment to quality that you deserve. We are licensed, certified, insured, and dedicated to quality craftsmanship, impeccable communication, and fair and transparent pricing.
Contact us at 863-563-3254 today for a free estimate.