Skip to content

A well-functioning roof ventilation system is critical for the longevity and efficiency of your home. It plays a pivotal role in maintaining the right balance of air in the attic, preventing excessive moisture, regulating temperature, and promoting energy efficiency. By managing these elements effectively, roof vents safeguard your home against a range of problems like mold, mildew, structural damage, and high energy costs.
The Importance of Effective Roof Ventilation
Roof vents are more than just structural components; they are integral to the health of your home. They ensure that fresh air continuously circulates through the attic, preventing the buildup of heat and moisture, which are primary causes of roof rot and diminished insulation effectiveness. This circulation aids in maintaining an even temperature throughout the house, thus reducing the burden on heating and cooling systems.
Proper ventilation offers a number of benefits:
Mold and Mildew Prevention
Moisture accumulation is a breeding ground for mold and mildew, which can cause health issues and damage to your home’s structure.
Temperature Regulation
Adequate ventilation keeps the attic cool in summer and prevents ice dams in winter.
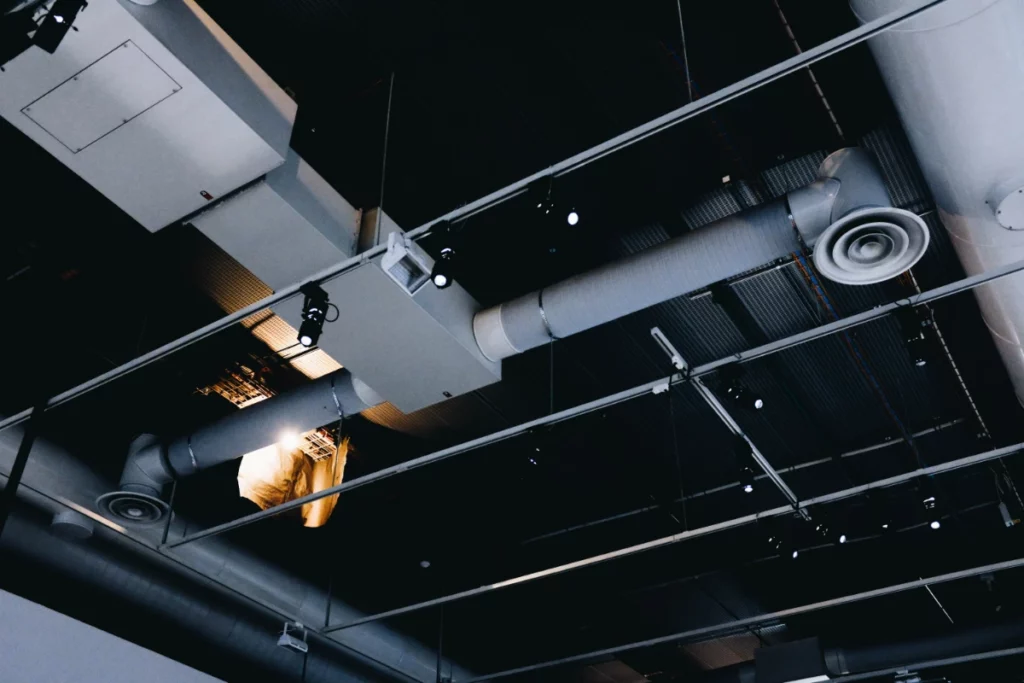
Energy Efficiency
Proper air circulation means less strain on your HVAC system, leading to lower energy bills.
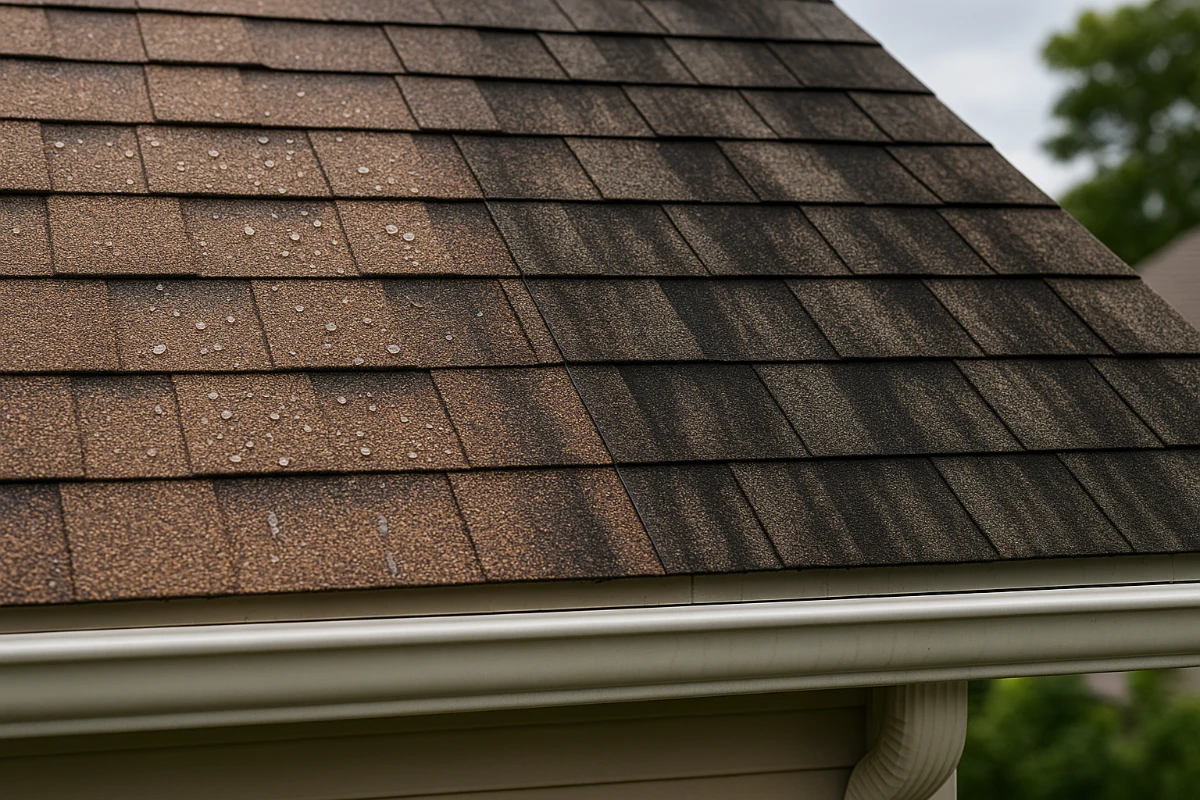
Roof Longevity
By reducing heat and moisture buildup, roof vents extend the life of your roofing materials.
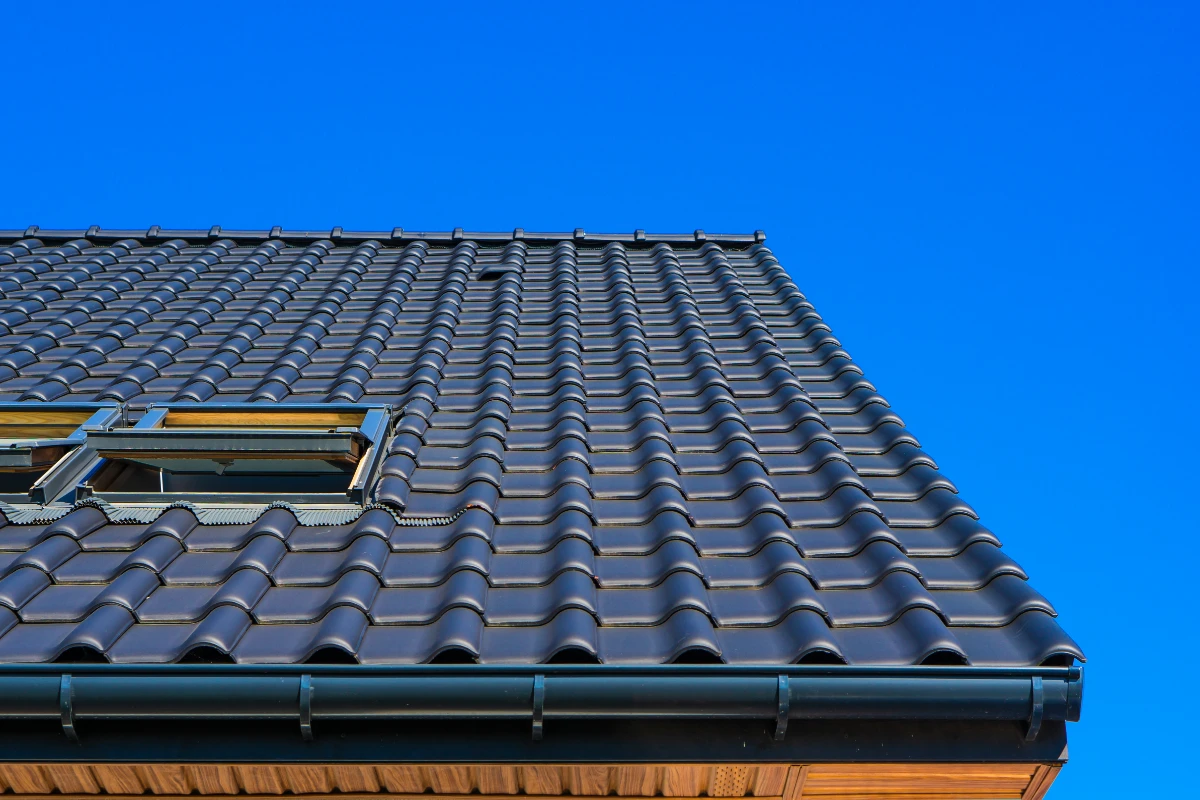
Understanding Roof Vent Types
There are two primary types of attic vents: natural and powered. Natural roof vents rely on wind or air pressure differences to circulate air, while powered vents use a fan to actively remove moisture and heat.
Natural Roof Vents
- Soffit Vents – Located on the underside of the eaves or soffits, these vents allow cooler air to enter the attic from the outside.
- Ridge Vents -Typically installed along the peak of the roof, these vents allow hot air to escape from the attic, creating a natural updraft.
- Gable Vents – Positioned on the gable ends of a roof, these vents also allow hot air to escape, promoting air circulation.
Powered Roof Vents
- Roof Turbine Vents – Also known as “whirlybird” vents, these vents feature a spinning turbine that draws air out of the attic, powered by wind.
- Powered Attic Fans – These electric fans are installed in the attic ceiling and actively pull air out, providing more forceful ventilation.
Choosing the Right Size and Quantity
The correct size and quantity of roof vents is essential for efficient ventilation. The ‘1 in 300’ rule is a widely accepted guideline in this regard. According to it, you should have 1 square foot of ventilation for every 300 square feet of attic space. This ratio should be split evenly between intake and exhaust vents to ensure balanced air circulation.
Assessing your Attic Size
First, calculate the size of your attic. This measurement will be instrumental in determining the amount of ventilation you need. For example, if your attic is 900 square feet, you would need 3 square feet of total ventilation (900/300 = 3), split evenly between intake and exhaust.
Considering your Climate
The climate you live in also plays a role. In colder climates, the primary concern is avoiding ice dams caused by heat buildup in the attic. In warmer regions, the goal is to expel hot air and reduce strain on air conditioning systems. You might need more ventilation if your area experiences extreme temperatures.
Evaluating Roof Pitch
Roof pitch also matters. Steeper roofs often require more ventilation because they have more attic space under them. If two houses have the same ground dimensions, but one has a steeper roof, that house will have a larger attic and thus require more ventilation.
It’s important to note that hese are general guidelines and individual homes may have unique needs. Therefore, it’s crucial to get a professional opinion. Certified roofing contractors can assess your home’s specific ventilation needs and suggest the optimal solution. This can significantly improve your home’s energy efficiency, improve air quality and extend the lifespan of your roof.
Remember, improper ventilation can be just as problematic as a lack of ventilation, so it’s important to get it right.
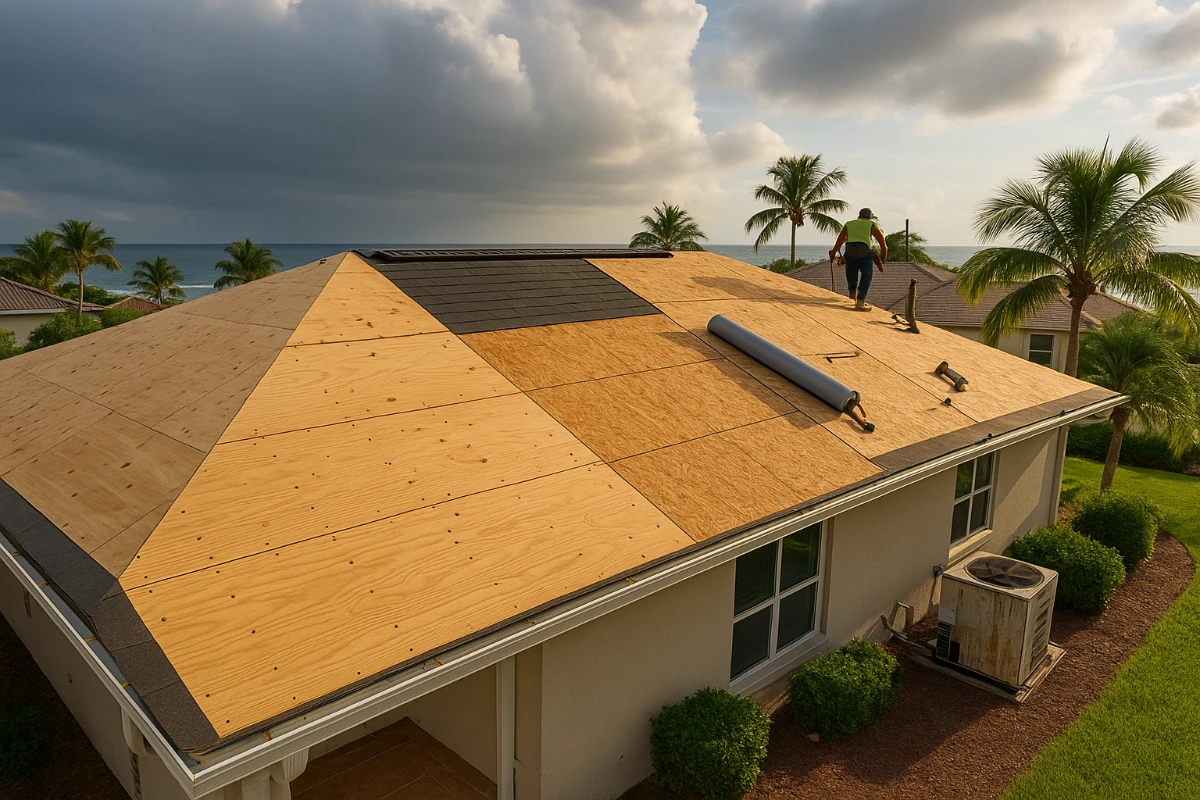
Installation Process for Roof Vents
After a comprehensive understanding of the importance, types, and sizing of roof vents, it’s time to move on to the installation process. install of roof vents can present challenges, especially for those who are not familiar with roofing work. However, with the right set of tools and a clear understanding of the steps involved, installing a roof vent can be accomplished with precision and safety.
Preparation
First and foremost, it’s crucial to gather all necessary equipment and materials before starting the project. These typically include a ladder, work gloves, safety gear (like a harness), a circular saw, a hammer, roofing nails, a pry bar, a caulk gun, roofing cement, and of course, the roof vent itself.
Locating the Vent Position
Start by determining the most suitable position for your roof vent. It should ideally be close to the peak of your roof but still within the attic space.
Cutting the Opening
Once the location has been determined, mark the size of the vent on your roof using chalk or a pencil. Then, using your circular saw, cut along the marked lines to create the opening for your vent. Be sure to cut from the outside of your roof to avoid damaging any structures inside the attic.
Installing the Vent
Next, position your vent over the hole you’ve just created. Ensure it’s properly aligned, then secure it in place using roofing nails.
Sealing the Vent
Apply a generous amount of roofing cement around the edges of your vent to create a watertight seal. This can be done using a caulk gun.
Final Checks
Finally, conduct a thorough inspection to ensure the vent is securely installed, correctly sealed, and functioning as intended.
Always prioritize safety and consider seeking professional help if you’re uncomfortable with any part of the installation process.
Step-by-Step Roof Vent Installation Guide
If you opt for a DIY roof installation rather than have a professional roofer do the job, be sure that you follow these instructions carefully. Improperly installing a roof vent can lead to leaks and other problems.
Tools and Materials
Before you begin, gather the necessary tools and materials:
- Roof vent (appropriate type and size)
- Roofing sealant
- Utility knife
- Hammer
- Nails
- Drill
- Jigsaw (if cutting through roof decking is required)
- Safety glasses
- Gloves
- Ladder
Safety Precautions
- Always wear safety glasses and gloves when working on your roof.
- Work with a partner or have someone nearby to assist you.
- Use a sturdy ladder and secure it properly.
- Be mindful of electrical wires and other hazards in the attic.
- If you’re uncomfortable working at heights or on roofs, consider hiring a professional roofer.
Step-by-Step Guide to Install a Roof Vent
- Choose the vent location. Select a location near the ridge of the roof for optimal airflow. Ensure the vent is at least 18 inches away from any chimneys or other roof penetrations.
- Measure and cut the vent opening. Use a utility knife to carefully cut an opening in the roof sheathing that matches the dimensions of the vent base.
- Install the vent base. Apply a generous amount of roofing sealant around the edges of the vent base. Carefully position the vent base within the cut-out opening in the roof sheathing. Secure the vent base firmly to the roof sheathing using nails or screws, following the manufacturer’s instructions.
- Install the vent cover. Attach the vent cover to the vent base, aligning it properly and ensuring a tight fit. Secure the vent cover to the vent base using screws or fasteners, as recommended by the manufacturer.
- Seal the vent perimeter. Apply a generous bead of roofing sealant around the perimeter of the vent cover, filling any gaps or crevices. Smooth out the sealant to create a watertight seal, preventing moisture from leaking into the attic.
- Replace the shingles. Carefully lift the shingles surrounding the vent opening, exposing the underlying roof sheathing. Slide the new shingles under the existing shingles, ensuring proper overlapping and alignment. Secure the new shingles using roofing nails, driving them straight through the shingles and into the roof sheathing. Trim any excess shingle material using a utility knife.
- Inspect and clean up. Once the vent installation is complete, thoroughly inspect the surrounding area for any potential leaks or gaps. Apply additional roofing sealant if necessary to address any areas of concern. Clean up any debris or leftover materials, disposing of them appropriately.
Additional Tips and Considerations
- For optimal ventilation, consider installing a combination of soffit vents and ridge vents or gable vents.
- Ensure adequate access to the attic space to facilitate vent installation and maintenance.
- If you’re unsure about any aspect of vent installation, seek the guidance of a qualified roofer.
Regular Maintenance
Regular maintenance and inspection of your roof vents are crucial to ensure their effectiveness in preventing moisture buildup and promoting proper attic ventilation.
Check your vents periodically for any signs of damage, debris accumulation, or sealant deterioration. By maintaining your roof vents in good condition, you can extend the lifespan of your roof, improve energy efficiency, and safeguard your home from moisture-related problems.
Troubleshooting Common Issues
Here are some common problems you may encounter during or after roof vent installation, along with potential solutions:
- If you notice water leaking around the vent, apply additional sealant around the perimeter of the vent cover and base. Ensure the sealant is properly adhered to both the vent components and the roof sheathing.
- Regularly inspect your vents for the accumulation of leaves, twigs, and other debris. Remove any debris to prevent airflow obstruction and maintain proper ventilation.
- Over time, roofing sealant can become cracked, brittle, or dislodged due to exposure to weather conditions. Inspect the sealant around your vents regularly and reapply if necessary to maintain a watertight seal.
- If you suspect that the vent was not installed correctly, consult a professional roofer for evaluation. Improper installation can lead to air leaks, moisture infiltration, and potential structural damage.
- If you notice moisture buildup or excessive heat in your attic despite having vents installed, the number or size of vents may be inadequate. Consult a professional to assess your attic ventilation needs and recommend appropriate adjustments.
Roof vents play a crucial role in maintaining a healthy and well-ventilated attic, protecting your home from moisture damage, heat stress, and energy inefficiency. Whether you choose to undertake the installation yourself or seek professional assistance, ensuring proper vent installation is essential for safeguarding your home and maintaining a comfortable living environment.
The Best Roofing Company in Florida and Georgia
From Lakeland to Sarasota and southern Georgia, Stronghold Roofing & Solar is the best choice when you need roof vent installation or any other roofing services. Our experienced team is ready to help solve all your roofing needs.
Contact us today for a free estimate!
FAQ’s – Roof Vent Installation
Why is proper ventilation so important to your roof?
It is important because it helps to maintain a cooler temperature inside your home, which can help save energy and prevent moisture problems.
What are the most common types of roof vents?
The most common types of roof vents include ridge vents, soffit vents, gable vents, and turbine vents.
Can I install a roof vent myself or should I hire a professional?
While it is possible to install a roof vent yourself, it is recommended to hire a professional to ensure proper installation and prevent any potential issues. However, if you have experience in roofing and feel confident in your skills, you can attempt the installation yourself.
How often should I check and maintain my roof vents?
It is recommended to check and maintain your roof vents at least twice a year, ideally before and after the winter season. Regular maintenance can prevent potential issues and prolong the lifespan of your roof vents.