Skip to content

Accurately measuring a roof for shingles is a fundamental step in preparing for a roofing project. This process ensures that you purchase the correct amount of roofing materials, avoiding waste and additional costs. Whether you’re a DIY enthusiast or a professional roofer, understanding how to measure your roof effectively is crucial.
Tools and Materials Needed
Before starting, ensure you have the following tools and safety equipment:
- Tape measure
- Ladder
- Calculator
- Safety gear including gloves and non-slip shoes
- Harness for steep roofs
- Clipboard and paper or digital device for note-taking
- Drone or binoculars for inaccessible roofs

Understanding Roof Types
The method for measuring your roof can vary slightly depending on the type of roof.
Gable Roofs

Gable roofs are the most common type of roof and have a triangular shape. When you measure a gable roof for shingles, you need to measure the length and width of each roof slope separately.
Hip Roofs
Hip roofs have four slopes that meet at the top. To measure this type of roof, you will need to measure both the length and width of all four slopes.
Flat Roofs
Flat roofs are typically found on commercial buildings, but some residential homes may also have flat sections. These roofs can be measured by finding the length and width of the entire roof area.

Shed Roofs
Similar to flat roofs, shed (or garage) roofs have only one slope and are commonly used for small structures such as sheds or porches. To measure a garage roof for shingles, simply measure the length and width of the single slope.
Beyond these basic types of roofs, there can be more complex roofs. To measure a complicated roof for shingles with valleys is a more complicated task that is usually best left to a professional roofing company.
How to Measure a Roof for Shingles

Measuring your roof can be done through direct or indirect methods:
Direct Measurement
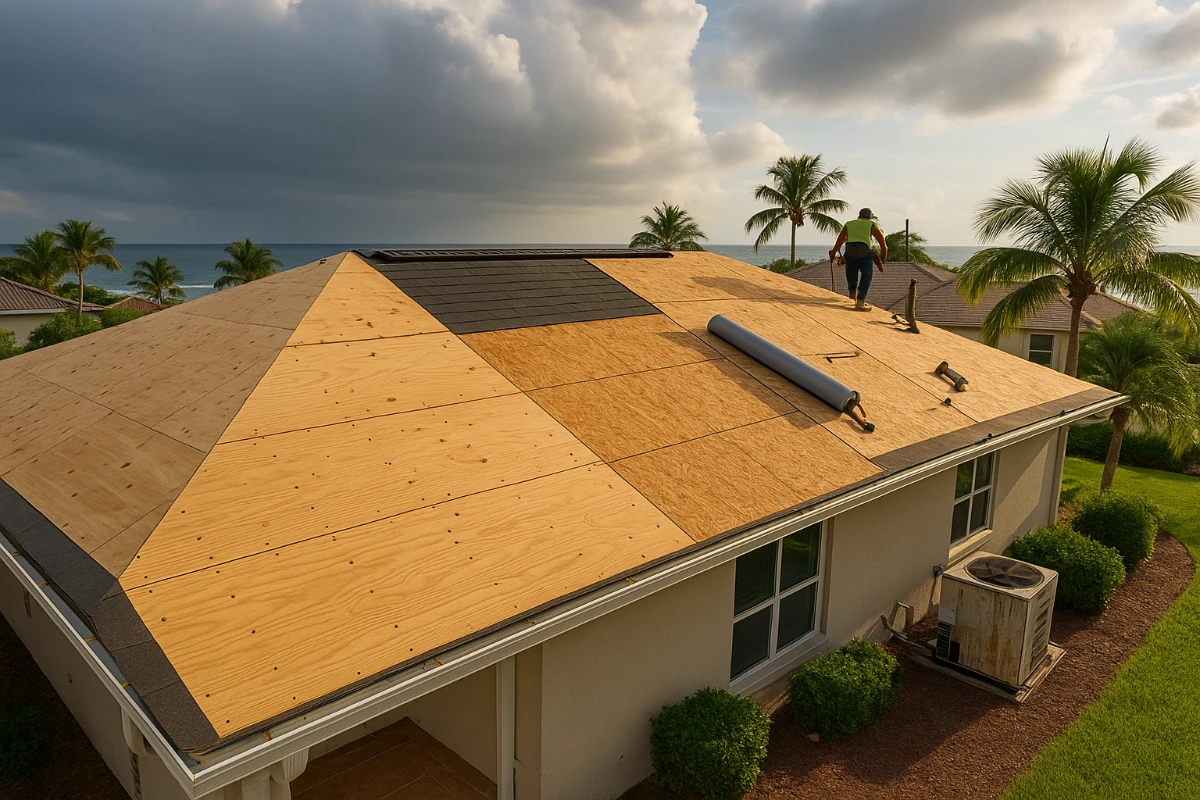
One method for measuring a roof involves physically climbing onto the roof and using a tape measure to take measurements. This technique is particularly useful for simple, small roofs with easy access, as it allows for more precise measurements than other methods.
However, it can be a time-consuming and potentially dangerous process, as it requires climbing onto the roof and working at heights. It’s important to take all necessary safety precautions when using this method, including wearing appropriate safety gear and having someone assist you on the ground.
To measure a roof using the direct measurement technique, follow these detailed steps carefully:
- Safety First: Before beginning, make sure you’re wearing all necessary safety gear, including gloves, non-slip shoes, and a harness if the roof is steep. It’s crucial to have someone on the ground to assist you, especially when climbing the ladder.
- Access the Roof: Use a ladder to safely access the roof. Ensure the ladder is stable and extends at least 3 feet above the roofline for safe and easy access.
- Start at the Edge: Once on the roof, begin measuring at the edge. For gable and shed roofs, measure the length and width of each slope. For hip roofs, measure the length and width of all four slopes. If it’s a flat roof, measure the entire roof’s length and width.
- Use Tape Measure: With your tape measure, measure the length from the roof’s edge to the ridge (top) for each slope. Note these measurements. Then, measure the width of the roof. For hip and gable roofs, you’ll need to measure each plane individually.
- Record Measurements: Write down all measurements clearly on your clipboard or digital device as you go along to ensure accuracy. Label each measurement with its corresponding roof section to avoid confusion later.
- Calculate the Area: For each section measured, calculate the area by multiplying the length by the width. This will give you the area in square feet for each section of the roof.
- Sum Up All Areas: Add up all the areas of each section to get the total square footage of your roof. This total is critical for determining the amount of shingles needed for the roofing project.
Following these steps should give you accurate dimensions necessary for purchasing the right quantity of roofing materials.
Indirect Measurement

For those who prefer not to climb onto the roof or have complex, difficult-to-access roofs, an indirect measurement method is available. This technique involves measuring the footprint of the house from the ground and then adjusting for the roof’s pitch.
- Measuring the House’s Footprint: Start by measuring the perimeter of your house. Measure each wall from corner to corner and jot these measurements down. For accuracy, it’s best to measure each wall twice.
- Calculate the Roof Pitch: Calculating the roof pitch is an essential step in accurately estimating the total roof area from ground measurements. The pitch of the roof refers to its angle of slope and can be determined by measuring the rise and run of the roof from the ground. The rise is the vertical distance between the top and bottom of the roof, while the run is the horizontal distance between the edge and the center of the roof. See below for detailed instructions. Alternatively, many apps and online calculators can help you determine the pitch of the roof quickly and easily.
- Calculating Roof Area: Once you have measured the perimeter and calculated the roof’s pitch, you can determine the total roof area using a simple formula: Perimeter x Pitch Factor = Total Roof Area (in square feet). The pitch factor can be found in a conversion table or calculated using the pitch’s degree.
- Accounting for Extra Material: It’s always wise to add a 10-15% buffer when calculating the roofing material needed to account for waste, mistakes, and future repairs. Simply multiply the total roof area by 1.1 or 1.15 to get the final amount required.
Calculating the Roof’s Pitch
To accurately adjust the measurements obtained from the ground for the roof’s pitch, understanding what roof pitch is and how it’s calculated is essential. The pitch of a roof is a measure of its steepness, typically represented as a ratio of its vertical rise to its horizontal span (or run), not in degrees. Here’s how to calculate it:
- Pitch Representation: Roof pitch is the ratio of vertical rise to horizontal span, expressed as “X/12”. A 4/12 pitch means the roof rises 4 inches for every 12 inches of horizontal run.
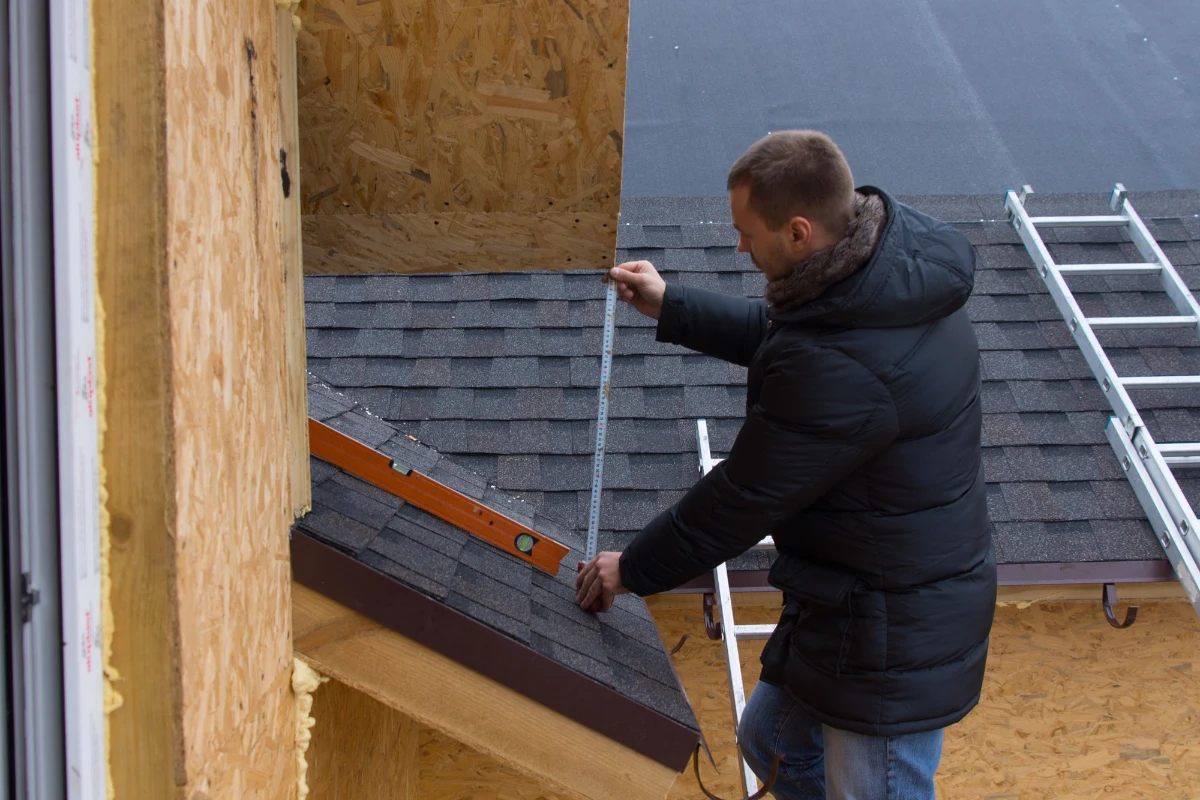
- Measure Rise and Run: Measure the rise (height from the roof edge to its peak) and the run (half the building’s width for gable roofs) either from the attic or using a level at the roof edge. In the attic, extend a level outward from beneath the peak to measure 12 inches horizontally (the run), then measure from the level down to the roof surface to find the rise.
- Calculate Pitch: The pitch is the rise over a 12-inch run. If the rise is 4 inches over a 12-inch run, the pitch is 4/12.
- Adjust Footprint Measurement: Use a pitch multiplier, which varies by pitch, to adjust the house’s footprint area to get the roof’s actual surface area. Multiply the footprint area by this multiplier to account for the roof’s slope.
- Apply Pitch Multiplier: For example, if the house footprint is 1,200 square feet and the pitch multiplier for a 4/12 pitch is 1.054, the adjusted roof area is 1,264.8 square feet (1,200 x 1.054). This number can then be used to estimate the amount of roofing material needed for your project.
With proper measurements, you can ensure a smooth and successful roofing project. Overall, measuring your roof may seem like a daunting task, but with the right tools and techniques, it can be done easily and accurately. Taking the time to measure your roof correctly will save you time and money in the long run by ensuring you purchase the correct amount of materials for your project.
FAQs – Measuring a Roof for Shingles
How long does it take to measure a roof for shingles?
The time it takes to measure a roof for shingles can vary depending on the size and complexity of the roof. On average, it can take between 1-2 hours.
Can I measure my roof from the ground?
Yes, it is possible to measure a roof from the ground using an indirect method. However, for accurate measurements, it is recommended to physically climb on the roof and take direct measurements.
Do I need special tools to measure my roof?
No, you do not necessarily need specialized tools to measure your roof. A tape measure, level, and ladder are usually sufficient. However, using a pitch calculator or an online measurement tool can make the process easier and more accurate.
Can I measure my roof on my own?
While it is possible to measure your roof on your own, it is recommended to seek professional assistance for accuracy and safety reasons. Roofing professionals have the necessary experience and tools to provide precise measurements and ensure your safety while working on the roof.