Getting a new roof is a major investment for most homeowners, albeit one that will likely increase your property value. Nonetheless, many people do not have a clear understanding of how the roofing process works. Given the magnitude of the project, it’s useful to know what to expect.
The New Roof Installation Process
Step 1: Choosing the Right Roofing Materials
The first step in the roof installation process is to choose the right roofing materials. There are many different types of roofing materials available, so it is important to do your research and choose the materials that are right for your home. Some of the most popular roofing materials include:

Asphalt Shingles
Asphalt shingles are the most common type of roofing material in the United States. They are relatively inexpensive and easy to install, making them a popular choice for homeowners on a budget. Asphalt shingles come in a variety of colors and styles, so you can find a look that matches your home’s exterior.
Asphalt shingles are not as durable as some other types of roofing materials, but they typically last for 20-30 years. They are also not as energy-efficient as metal roofs, but they can help to keep your home cooler in the summer and warmer in the winter.
Metal Roofs
They are more expensive than asphalt shingles, but they are also more durable and energy-efficient. Metal roofs can last for 50-70 years or more, and they reflect heat away from your home, which can help to reduce your energy bills. They are also fire-resistant and hail-resistant, making them a good choice for homes in areas with severe weather.
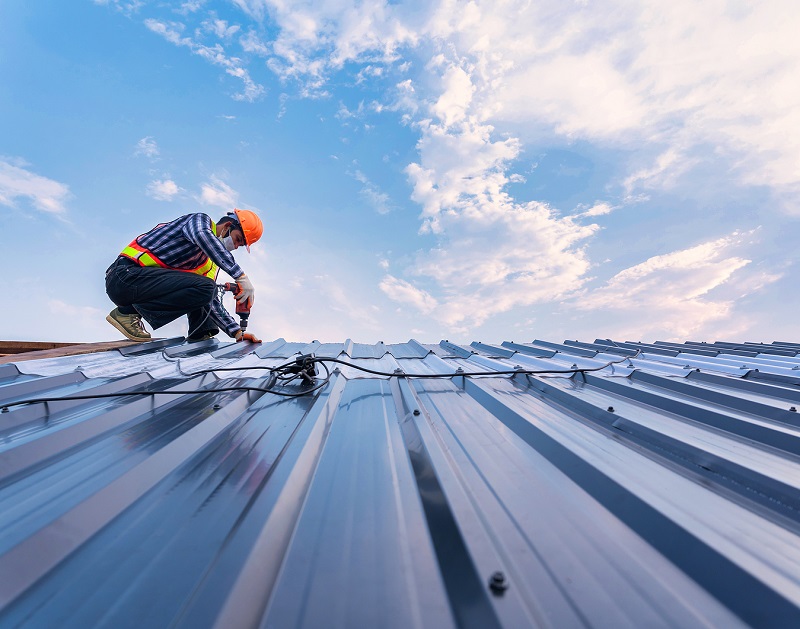
There are 2 main types of metal roofs: standing seam roofs and metal tiles. Standing seam roofs are made of sheets of metal that are joined together with overlapping seams. Metal tiles are made of individual tiles that are installed in overlapping rows.
Slate Roofs
Slate roofs are the most durable type of roofing material. They can last for centuries, and they are very resistant to fire, hail, and wind. Slate roofs are also very attractive, and they can add value to your home.
However, slate roofs are also very expensive. They are also heavy, which can make them difficult to install. If you are considering a slate roof, be sure to factor in the cost of installation and the weight of the roof when making your decision.
Tile Roofs
Tile roofs are another durable type of roofing material. They are made of clay or concrete tiles, and they can last for many years. Tile roofs are also fire-resistant and hail-resistant.
However, tile roofs are also heavy, which can make them difficult to install. They are also more expensive than asphalt shingles or metal roofs. If you are considering a tile roof, be sure to factor in the cost of installation and the weight of the roof when making your decision.
Step 2: Getting Estimates from Roofers
Once you have chosen the roofing materials, you need to get estimates from several roofers. This will help you compare prices and find the best deal. Be sure to get estimates from professional roofers who are both licensed and insured.

Additionally, it is important when reviewing estimates that you make apples-to-apples comparisons. The estimates should include:
- The type of roofing materials that will be used, including the brand, model, and quantity.
- The cost of labor to install the roofing materials.
- The cost to remove the old roof, if applicable.
- The cost of drip edge and underlayment.
- The cost of cleanup after the roof installation is complete.
- The length of the warranty on the roofing materials and labor.
Step 3: Preparing for the Roof Installation
Before the roof installation can begin, you need to prepare your home as suggested by your roofing contractor. This might include removing furniture from the attic and covering landscaping that could get damaged.

You should also decide if you want to be present while the roof installation is happening. Roof work can be very loud, so you may want to consider being elsewhere or finding another location for children and pets at a minimum. Be sure to discuss your plans with your roofer.
Step 4: Removing the Old Roof
The next step is to remove the old roof. Unless you are doing the installation yourself, this will be done by the roofing company.

They will begin by tearing off the shingles and disposing of them properly. If the old roof is made of metal, it may need to be cut up and removed.
Once the outer surface of the roof has been removed, they will inspect the roof deck to ensure that there are no issues that should be addressed before proceeding any further.
Step 5: Installing the Drip Edge
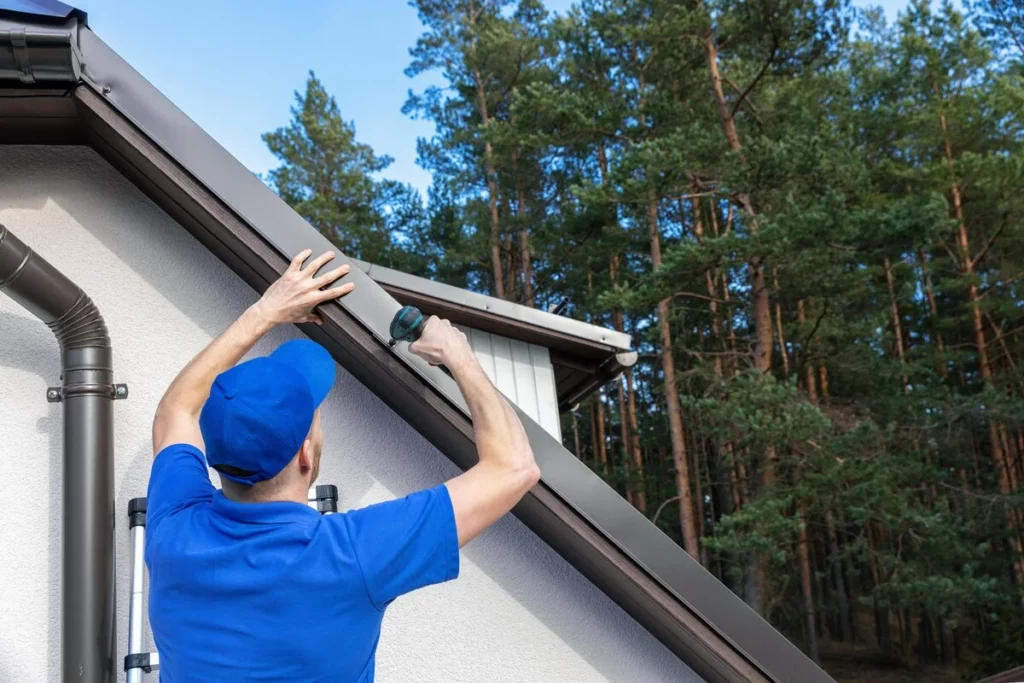
The drip edge is a metal flashing that is installed around the perimeter of the roof. It helps to prevent water from running down the sides of the roof and damaging the siding.

Step 6: Installing the Underlayment
The underlayment is a waterproof membrane that is installed under the roofing materials. It helps to protect the roof from leaks.

Step 7: Installing the Roofing Materials
The next step is to install the roofing materials. This process will vary depending on the type of roofing materials you have chosen. For example, asphalt shingles are installed in overlapping layers, while metal roofs are installed in panels.

Step 8: Cleaning Up
Once the roof installation is complete, the roofing company will clean up the debris. You may also need to have the gutters and downspouts reinstalled.

The roof installation process can be a bit daunting, but it is important to remember that it is a necessary investment. By following these steps, you can be sure that your new roof will be installed properly and will protect your home for years to come.
Stronghold Roofing & Solar in FL & GA
The best roofing company in Florida is right here in Lakeland – Stronghold Roofing & Solar. From roof installations to inspections and repairs, contact us for any roofing services you need.


